The following is a list of some of the tools available to your Business Directory Membership. The level of this membership also extends to additional powerful functions in your Blog Membership and your Deai Membership!!
The four basic levels of Membership are Free, Bronze, Silver, and Gold. The tools listed on this page relate to the Directory and are available to you depending on your membership level.
See Blog Sales Tools and Deai Sales Tools to check on the powerful functions provided for you there as well.
The availability of these tools depends on the level of membership that the Business Owner has contracted for. The following icons signify the level required for access to any particular tool.
| Free Trial (6 months only) | Free | Bronze | Silver | Gold |
| N/A | |
|
|
How to create an offer
An offer can be created from the admin area by the site admin or by the business owner on the front-end Control Panel.
In order to create an offer in the front-end the user will have to create a business listing first, in order for the offer to be associated with a business listing. When creating a new offer, the offer enters the “Need creation approval” state and it will be shown on the front end only if the site admin approves the offer, or “Show pending approval” is set to yes in general. When a new offer is created the site admin receives a notification email.
How to create a coupon
During the process of creating an offer, on the offer edit view, the business owner or site admin has the possibility to enter the number of coupons for the offer.
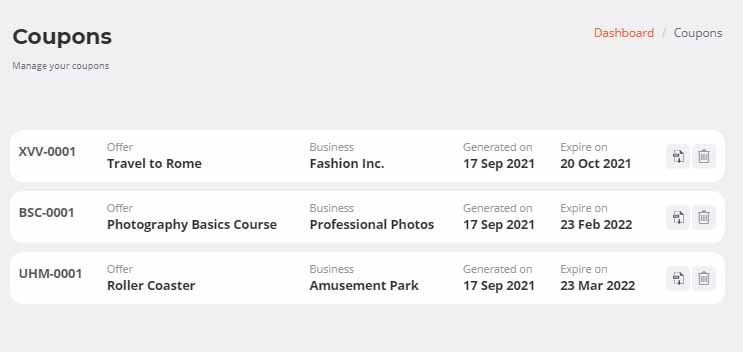
If coupons are enabled on general setting and the number of coupons is higher than 0, on offer details view (front-end) a button “Get this deal” will appear. After the maximum number of coupons is reached the “Get this deal” button will be hidden on front-end. In order to get a coupon, a user has to login so to prevent multiple coupons being generated for one user. The generated coupon will be displayed for the offer owner and for the user who generated the coupon, on the front-end Control Panel.
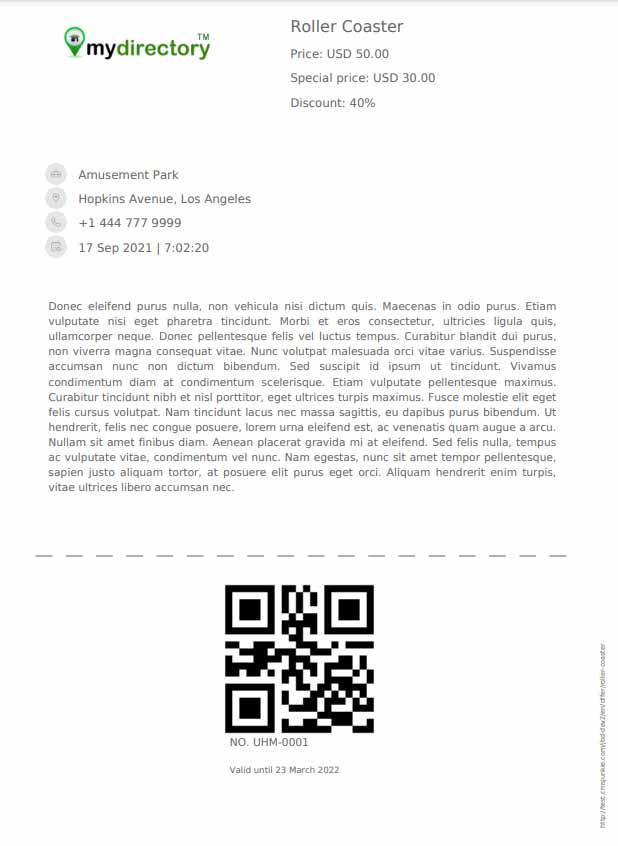
A coupon contains:
-
The coupon code
-
The name of the offer
-
The price
-
The special price
-
Discount
-
The offers’listing
-
The offers’location
-
Phone number
-
Generation date
-
Expiration date
-
Offers’link
How to create an event
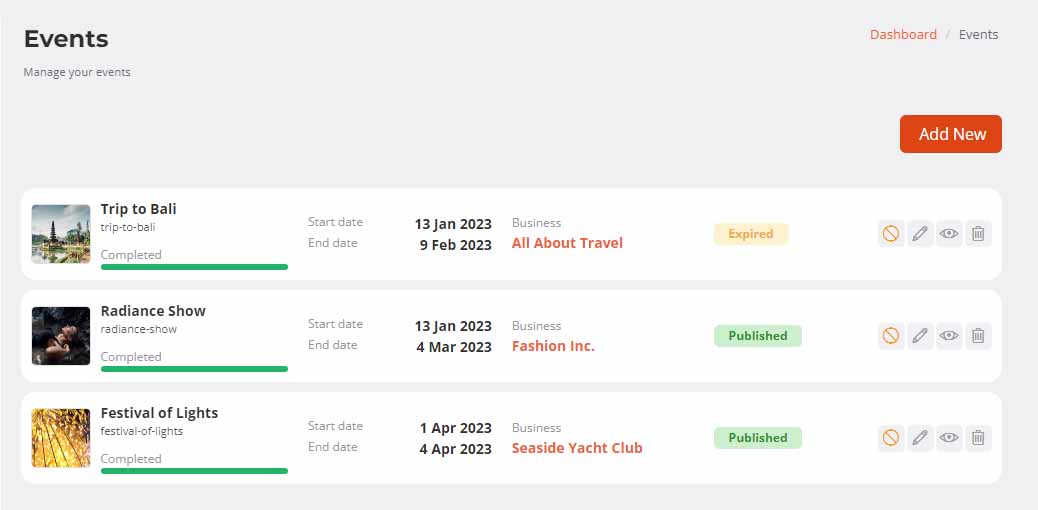
An event can be created from admin area by the site admin or by the business owner in the front-end Control Panel.
In order to create an event in front-end the user will have to create a business listing first. When a new event is created, the event enters in the “Need create approval” state and it will be shown on front-end if the site admin approves the event or Show pending approval is set to yes on general settings. When a new event is created the site admin receives a notification email.
If packages are enabled the events will be shown in the front-end if the below following are fulfilled:
-
The package associated with the business listing contains the events feature
-
If the maximum number of events has not been reached
-
If the order generated for the current package is paid or set to paid on admin area.
If the events are not added to the selected package or the order is not paid, the status for the event will be “not included”. The user is allowed to create a maximum number of events that is defined on general setting or in the package configuration
title="How to resubmit a listing
When the user creates a new listing by any of the options on front-end, the listing enters in a pending approval state. This new listing has to be approved by the administrator.
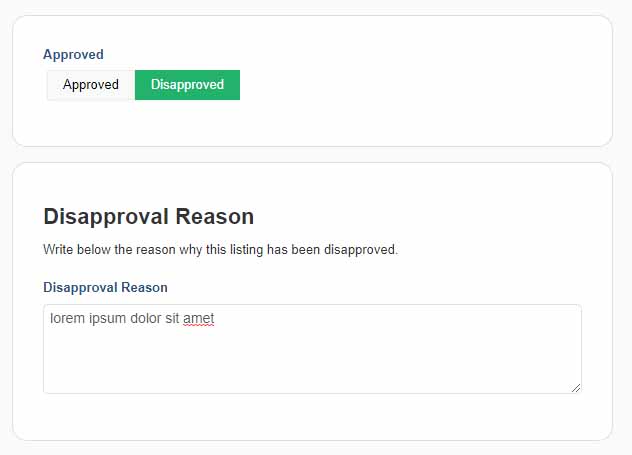
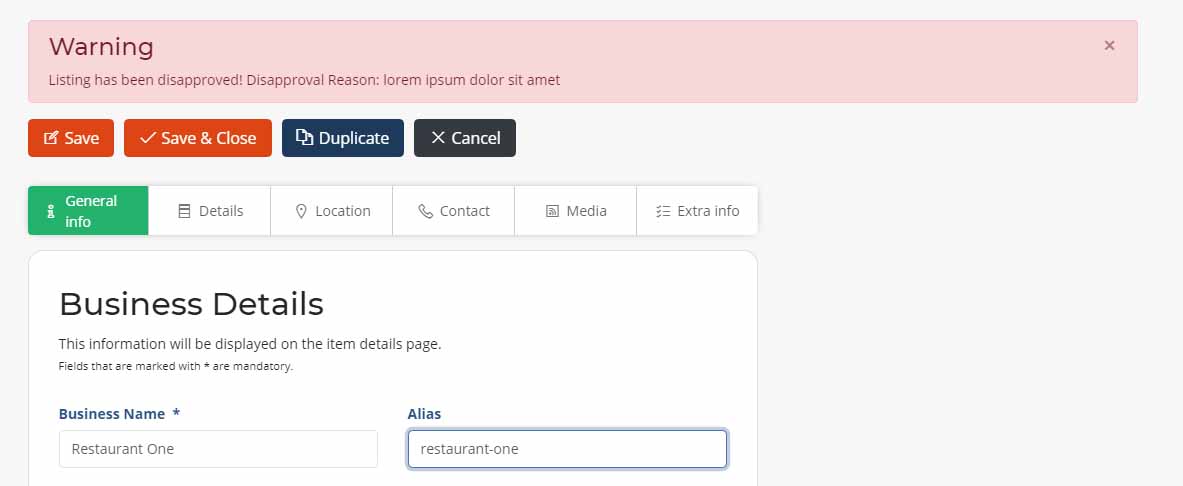
If the administrator of the site decides to disapprove the listing, a new box will be shown in this listings’ edit view for the admin to enter a disapproval reason, so that the business owner will know the reason for this disapproval.
After this listing will be saved by the administrator, it will be displayed with a “Disapproved” status in the users’ front-end control panel, in the business listings section. If the user opens the listing, on its edit view will display the disapproval reason from the administrator, like in the below picture.
The listing has to be edited and saved, for it to enter in the pending approval state. And yet again, has to wait for the approval/disapproval of the administrator.
How to add a company article
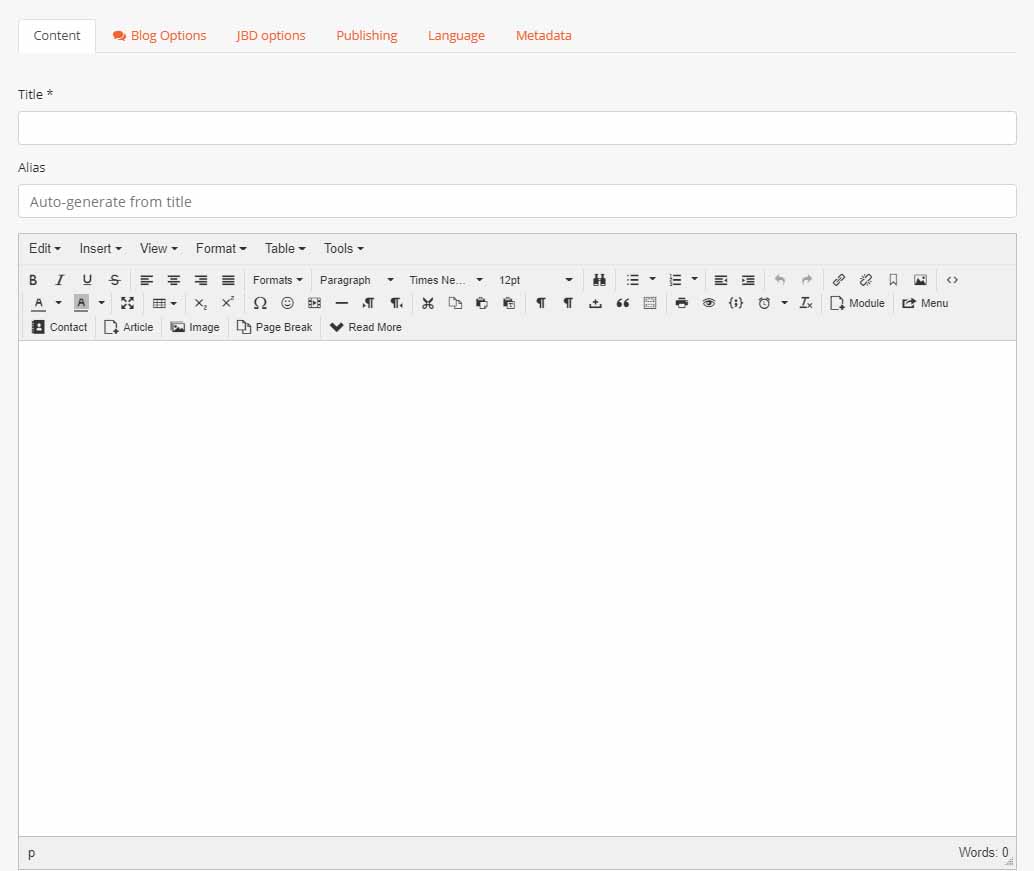
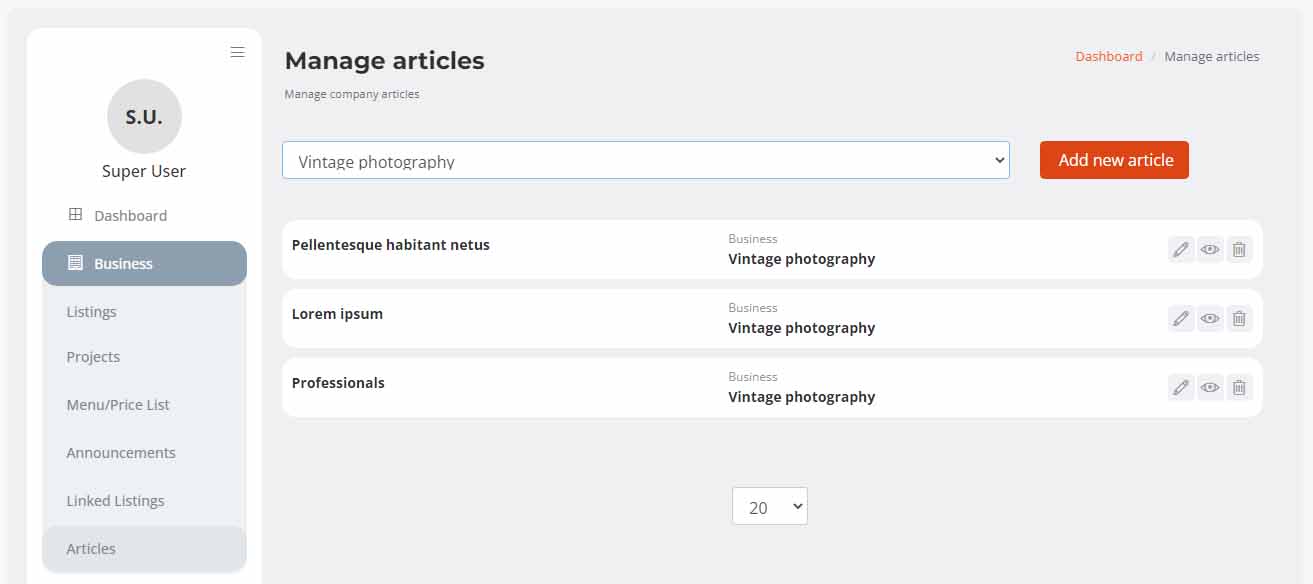
Business owners can add company articles from the front-end control panel section. The user can choose the listing that he wants to add the article to, from the list of companies that he owns.
After all the articles’ content is added, the user can save it and it will be listed on the company articles section and also on the admin area for the admin of the site to view.
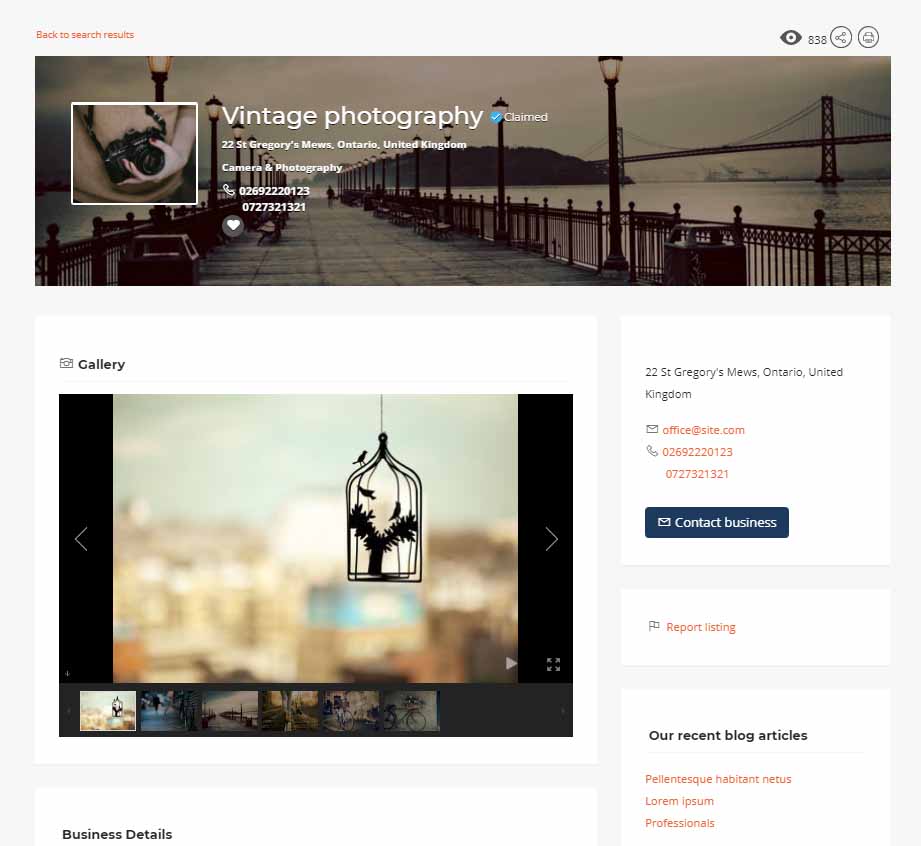
Also, the company articles are displayed on the listing detail view, style 5, on the “Our recent blog articles” section.
How to Enable Your Payment Method
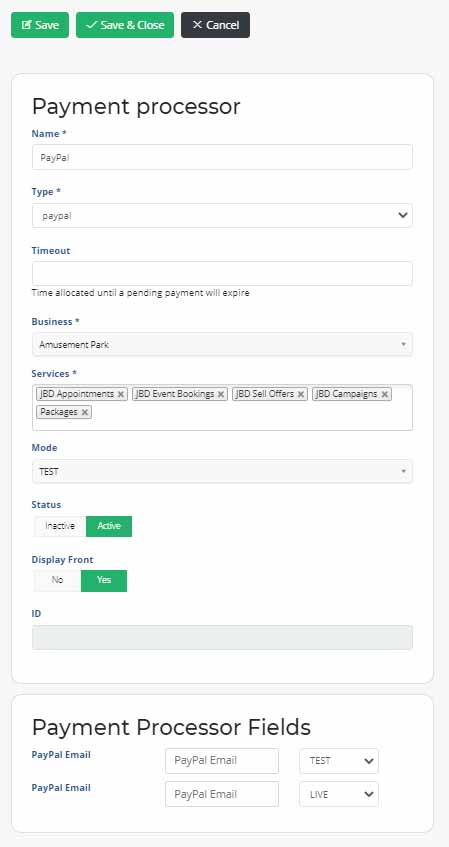
The companies have the possibility to define their own payment method. The site administrator can set on the extension’s general settings, by using the Available payment processor setting, which payment processor types are allowed to be created by the business owner.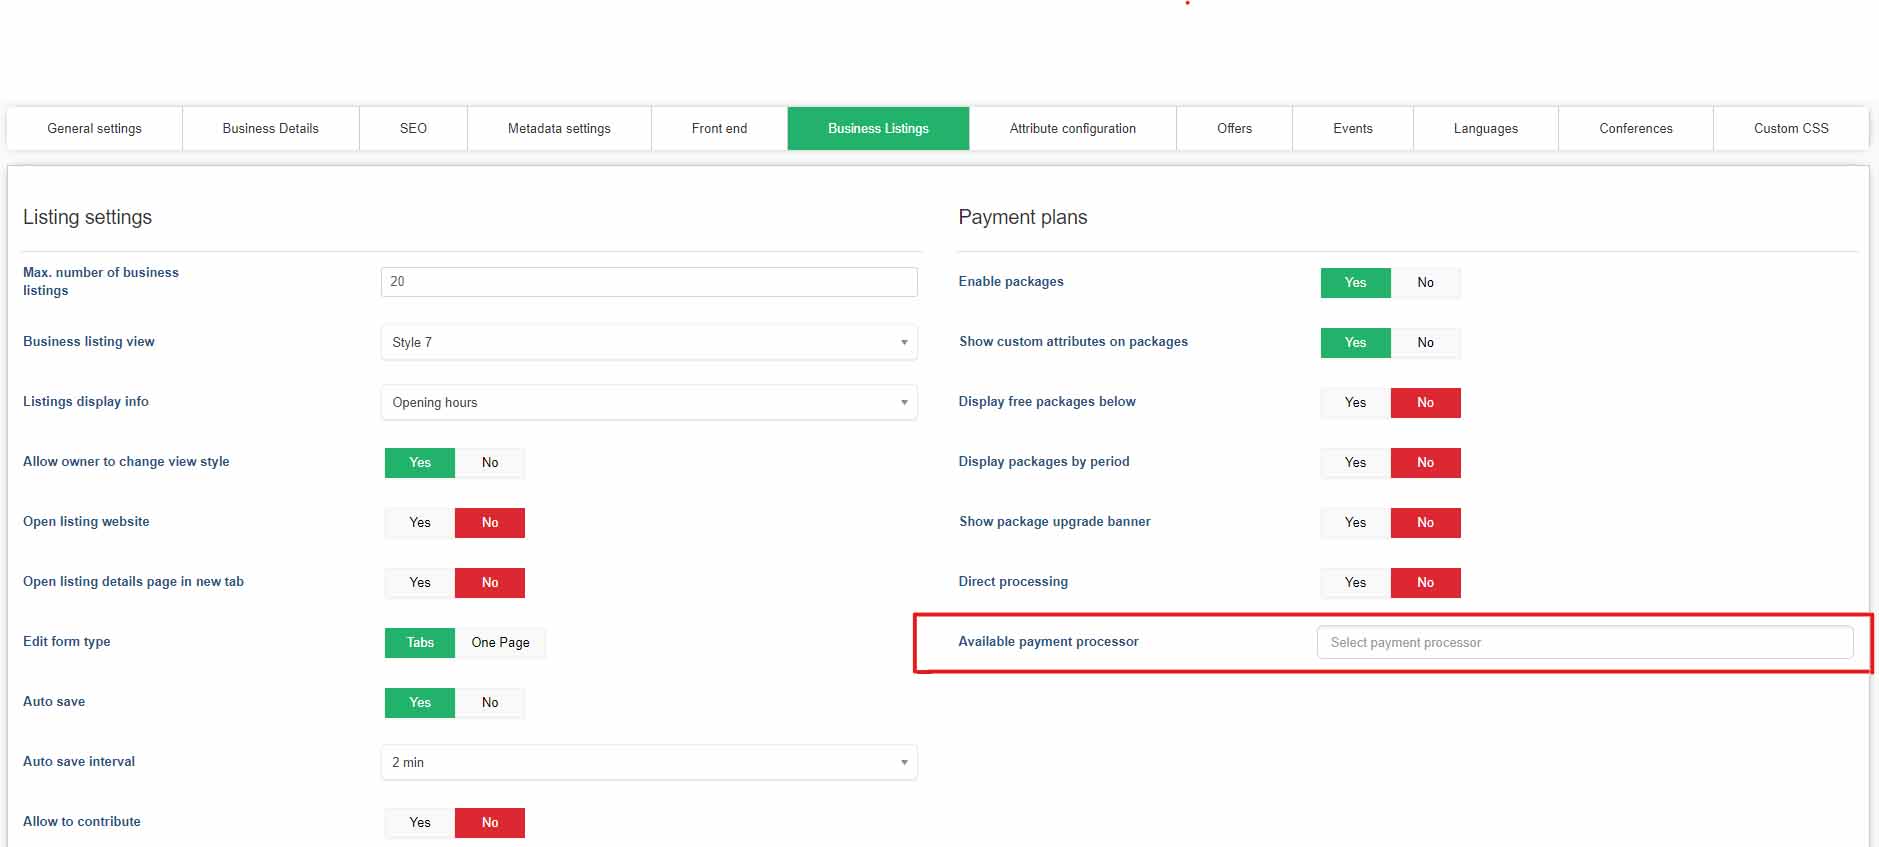
By doing so, the business owners can create their own payment methods on front-end Control Panel.
If a business owner defines a payment method, then only that payment method will be available for the company’s services. In the case when no payment method is defined for the company, then the default ones will be used (if any available). Also, it is needed to be taken into consideration that only for business plans and campaigns, only the default payment processors will be used to complete the payment, even though the company might have other payment methods defined. As for the other services, the company’s payment methods will be taken into account to complete the payment.
How to Reply to a Pricing Request
There are two different types of applications regarding quote requests, with or without price. Since we have quote request list view, every user and business owner can see all the available quote requests, depending on the package features, and apply from there. The user can select whether wants to receive applies with or without price if he enables/disables “Enable apply with price” on general settings. When the setting is enabled the button will be “reply” and if it is disabled, “apply”.
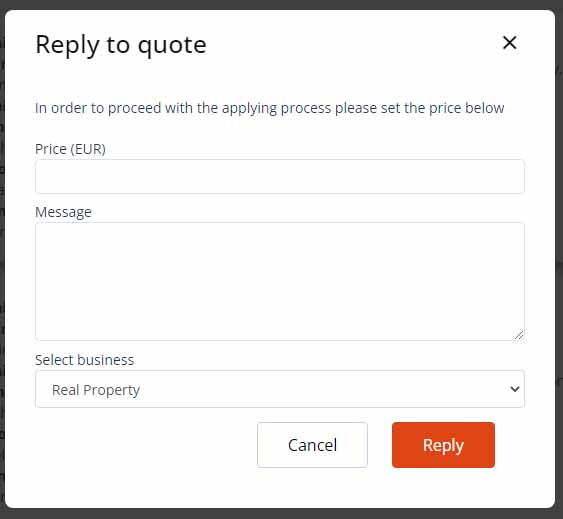
After that the “Reply to quote” table will show with the price details.
The business owner will complete the price box which will have also the currency, and it can be changed on general settings on the currency section. There’s also the message box and the select box to select the business that he wants to apply with.
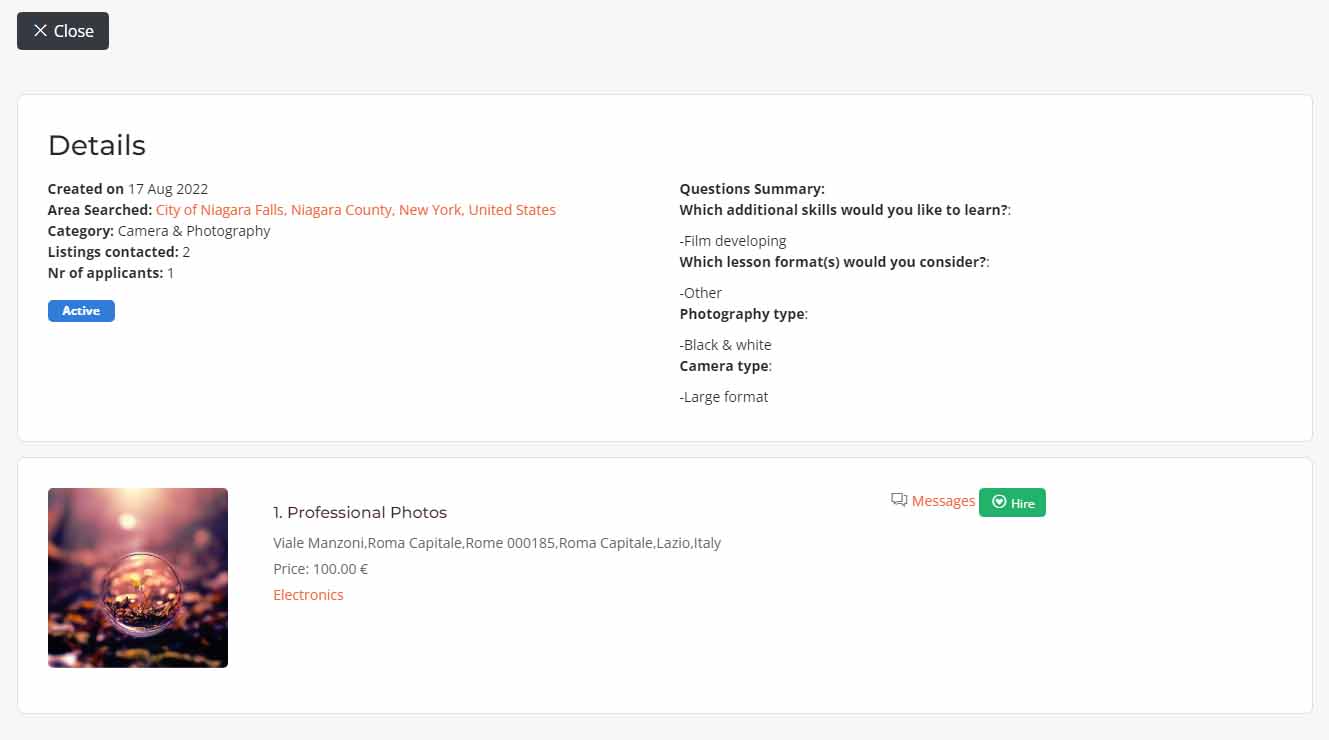
After that, the quote request will appear on the business owner control panel with the price he has applied. Also the user who created the quote request will be able to see the applications with the prices on the user dashboard view.
How to Join an Event
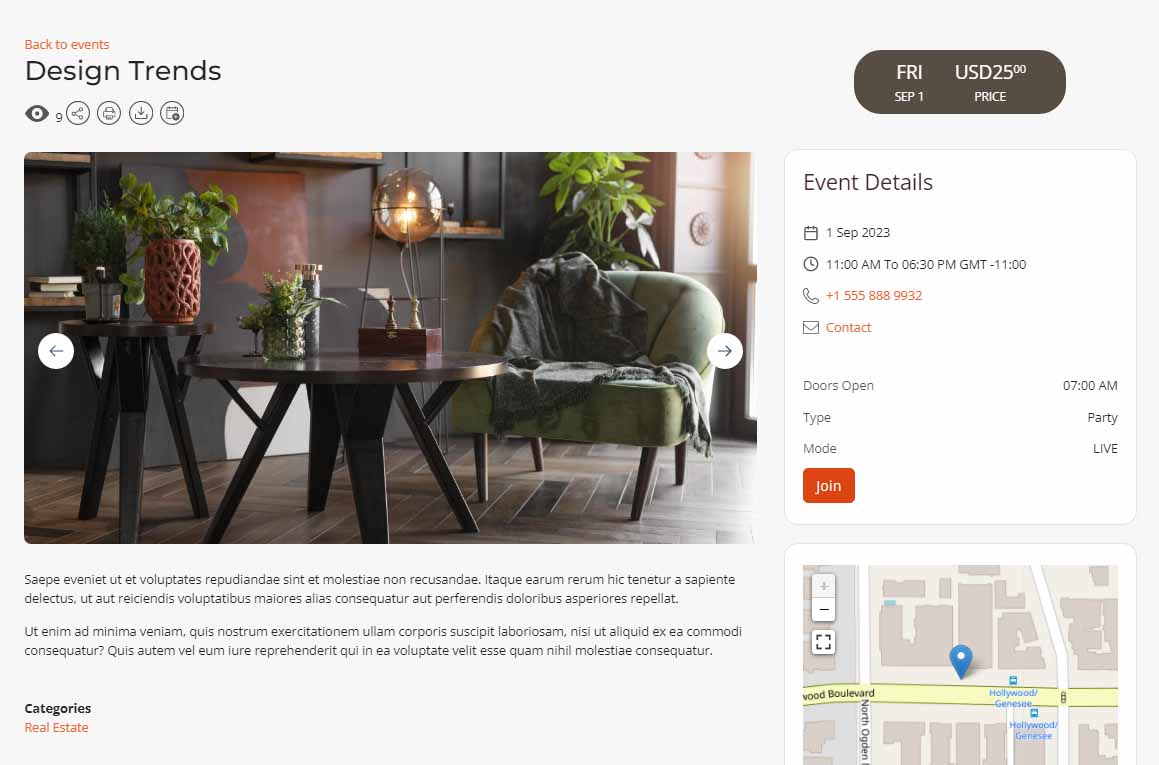
In order to join an event, the “Enable event subscription” button on the events section on general settings, should be set to “yes” also on the event details, on both admin and control panel section, the “Enable event joining” should be set to yes. After that the “Join” button will appear on the event details view on frontend.
The business owner should log in first otherwise after clicking the join button a pop up will appear and redirect to the login screen.
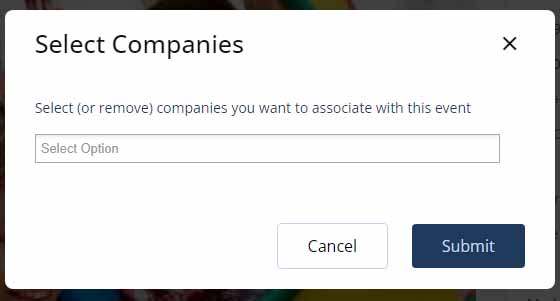
After logging in and clicking the join button a new pop up will appear and now the business owner can select the business that wants to associate with the event and submit it.
The event owner will receive an email on the contact email account which can be completed on the event details information.
The event owner can see all the participating companies on the “Participating Companies” section on the event details on both admin and control panel area.
How to Leave an Event
Same as joining an event, the business owner needs to be logged in, in order to leave an event. The “Leave” button will automatically appear on the event details on front-end.
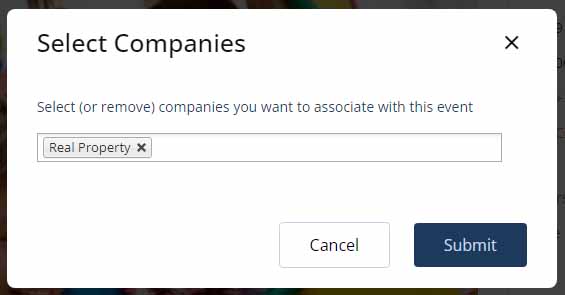
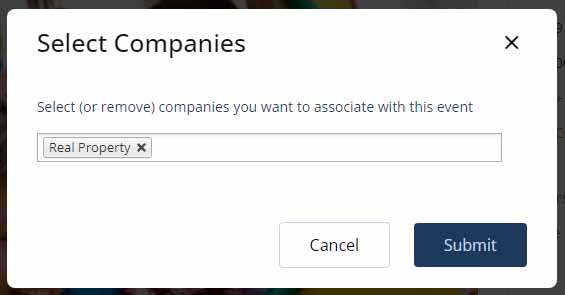
On the popup table will appear the business that is currently joined and if you want to remove it just click on the “x” button next to the business and then submit the changes.
How to Claim Your Listing
...
How to Contact a Listing, Offer or Event
...


